
Manage participant photos, tags, and files
A Participant profile keeps visual identity, classification, and supporting documents together.
A Participant profile keeps visual identity, classification, and supporting documents together. Photos, Tags, and Files are stored through different controls and follow their own validation rules.
Add a photo
Open the Participant detail dialog and select the avatar. Choose an image file, then store it as a square Headshot or a full Full photo. The square option opens the crop flow; the full option keeps the image's aspect ratio while reducing oversized images. Removing both images returns the avatar to initials.
Assign tags
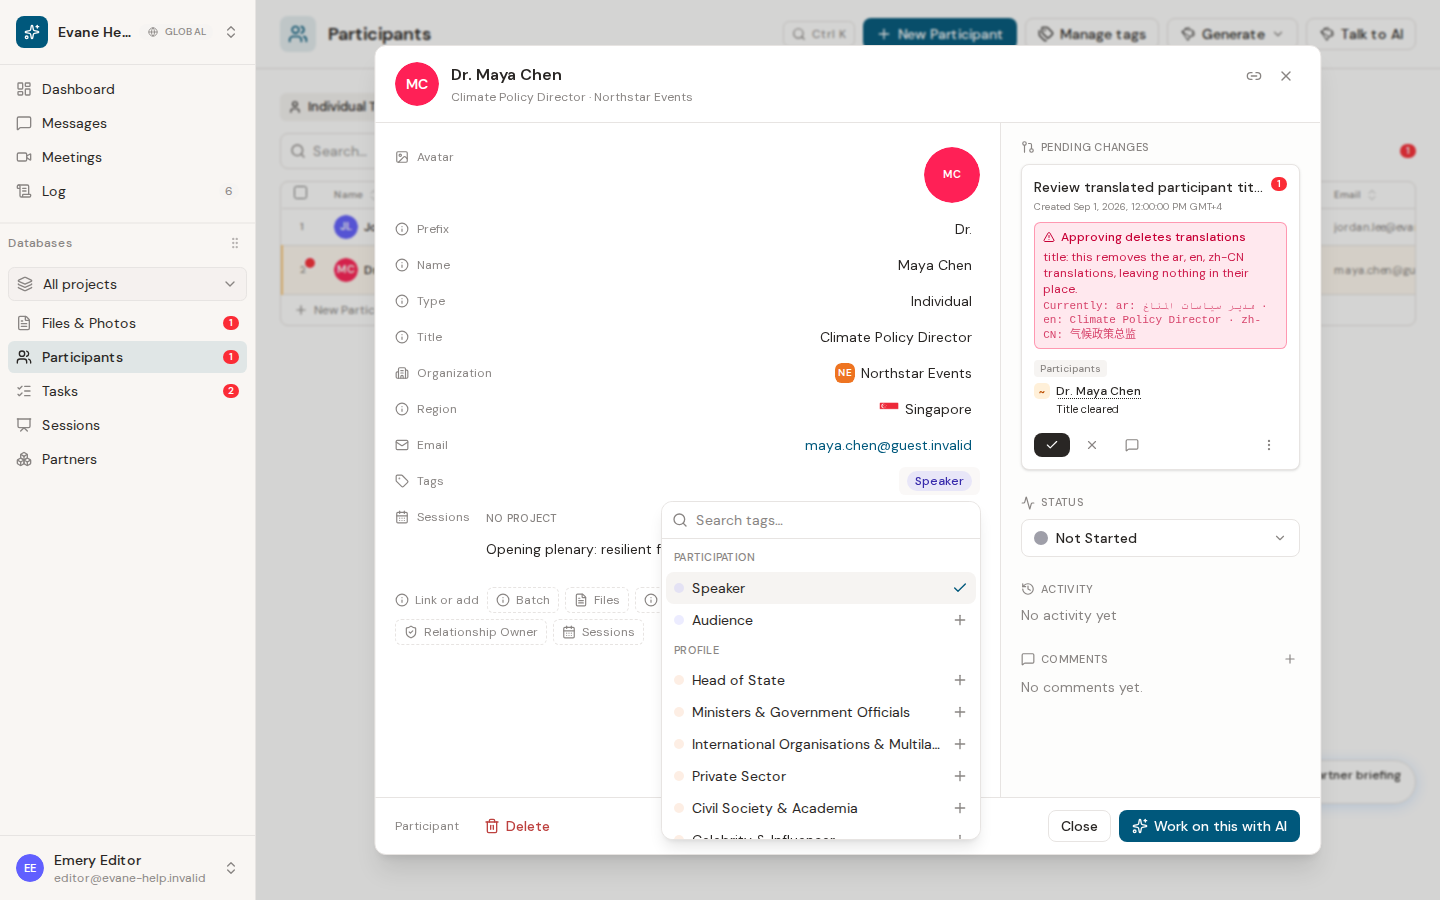
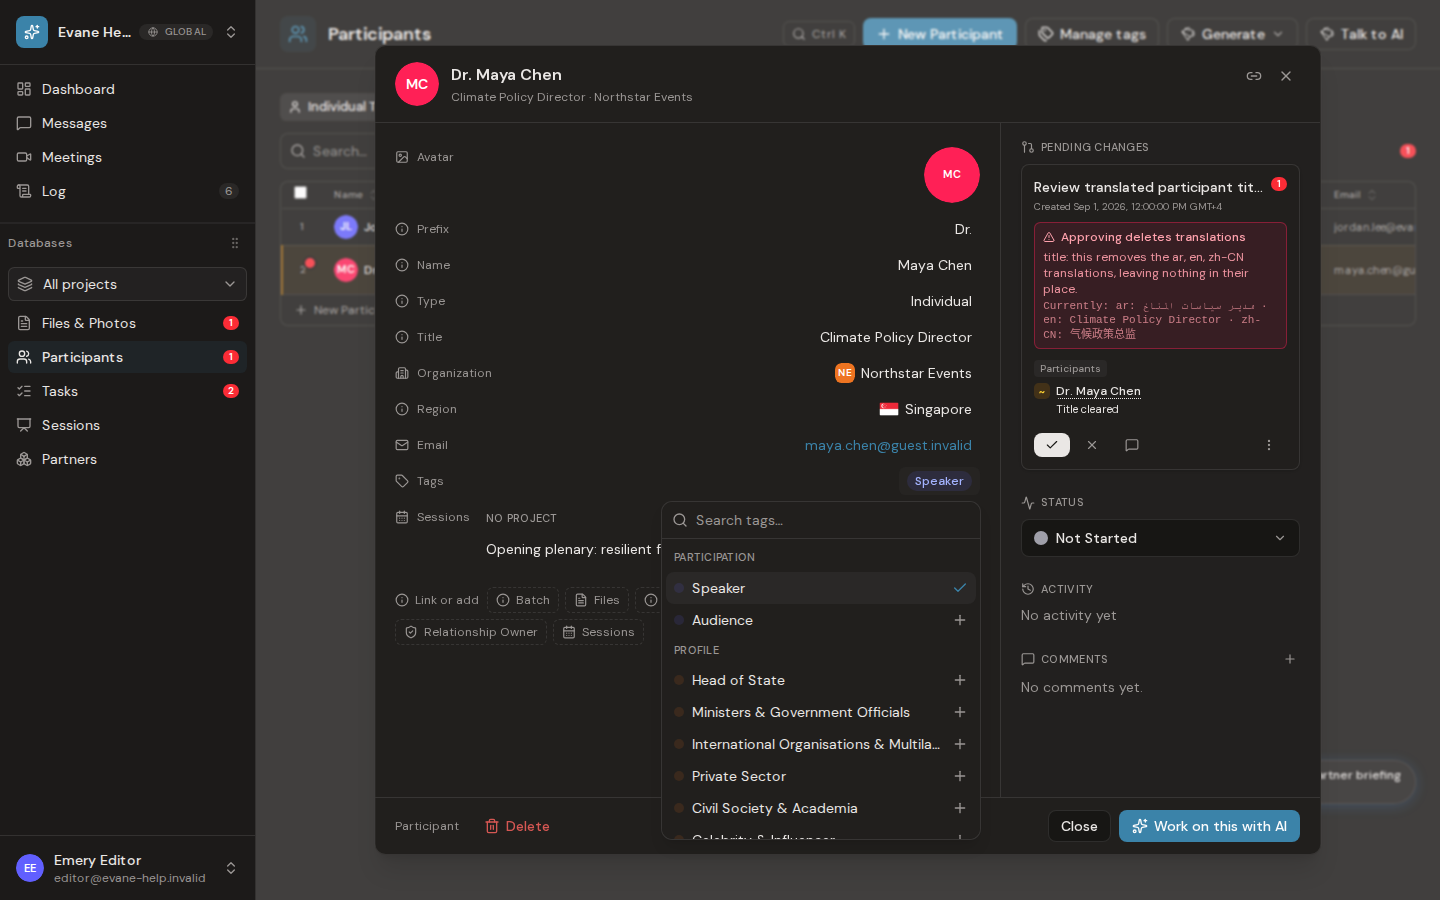
Create or edit a Participant and select one or more stakeholder Tags. The saved Participant stores tag IDs, and tables and detail dialogs resolve those IDs to the controlled tag labels.
Add and open files
Use the Files action in a Participant row or the Link or add area in the detail dialog to:
- upload a local file and link it to the Participant;
- link an existing space file; or
- run an available document Skill such as Invitation Letter.
Formist-owned uploads and generated files open through the authenticated Formist service download route. Connected-provider files open their SharePoint, Google Drive, or Lark source URL when one is available.
Remove a file
Deleting an Formist-owned file moves the file to Trash and hides it from normal views while retaining its bytes and links for the recovery period. Removing a linked external file in the detail dialog removes only the entity link when a link ID is available; it does not delete the provider source. These actions require write access, and deleting the file itself is limited to its uploader or an Owner/Admin.
If a file does not open
Space members can read files stored or synchronized inside the active space. A missing file ID, missing provider URL, or storage error can still prevent opening. For a source-owned link, its provider may separately reject the current user's attempt to open the original page.
Related workflow: Manage Participant tags
Assign existing tags
Use the Tags field while creating or editing a Participant. The picker only lists this field's own tags, since Participants and Sessions each keep a separate tag set, and it stores the selected tag IDs on the Participant. Saved values persist through the Participant API and can be displayed or filtered in Participant tables.
Some built-in tags have workflow meaning. For example, Speaker, Ministers & Government Officials, and International Organisations & Multilaterals control Invitation Letter template selection.
Manage the available tags
A space Owner or Admin can open the Tags field's settings to add, rename, or delete a tag group or a tag. The gear icon sits on the field row in Settings > Databases, and also in the database edit dialog.
Select + Add a tag group to create a group, then use its + to add a tag inside that group. Each group's ⋯ menu picks the group colour, renames the group, or deletes it. Deleting a group whose tags are in use asks where those tags should go.
Renaming a tag or group only sets the label for your own current interface language. In a space with more than one content language, switch the interface to each other language and rename again to translate it; there is no in-place translator for tag labels.
How tag changes are saved
Tag groups and tags are saved as part of the Tags field's settings, scoped to the space rather than to one page. Changes persist across reloads and apply everywhere the field is used.
Last verified: