
Upload files and create folders
Use Upload files to add local files or a folder tree to the current folder in the Files library.
Use Upload files to add local files or a folder tree to the current folder in the Files library. Uploaded content is stored as Formist-owned files rather than written back to a connected provider.
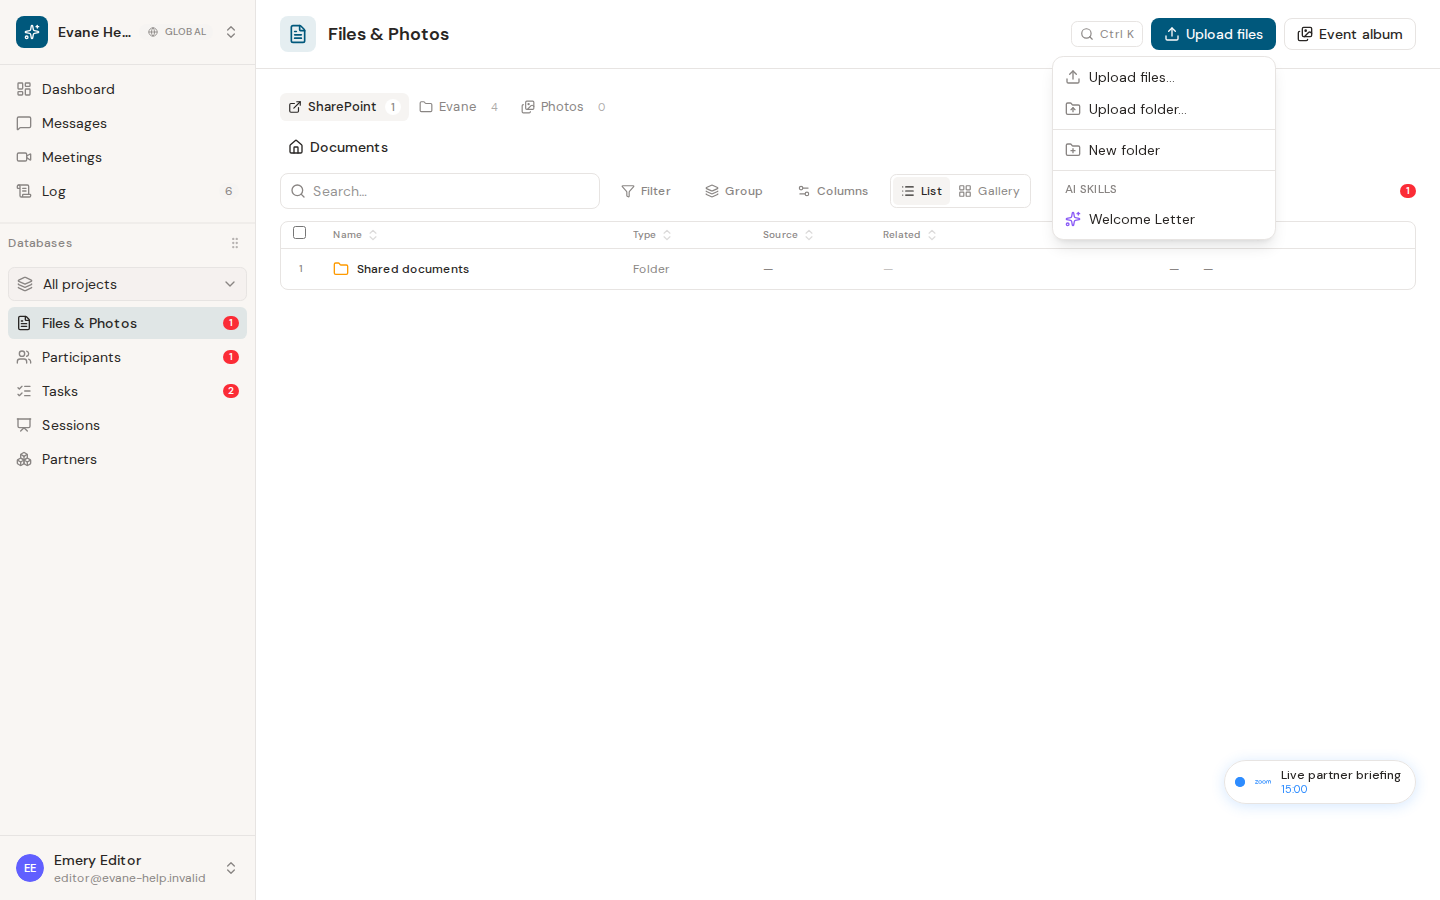
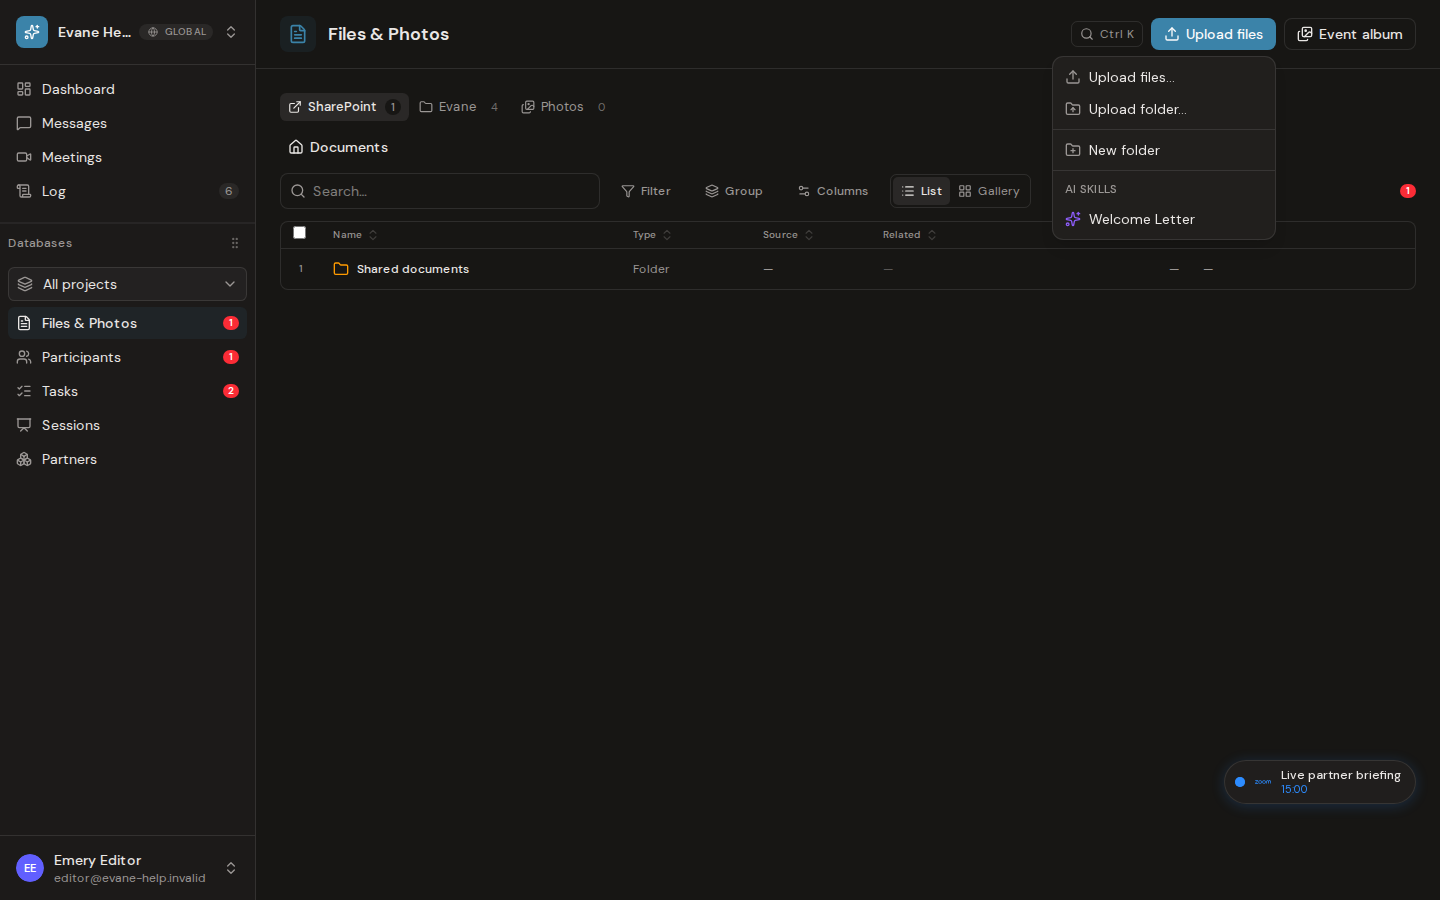
Upload into the right location
- Open Files and navigate to the folder that should contain the document.
- Open Upload files, then choose Upload files… for one or more files or Upload folder… to preserve a local folder tree.
- Keep the page open while each progress row completes. You can cancel an upload that is still running.
- Open the finished row or reload the page to confirm that it was saved.
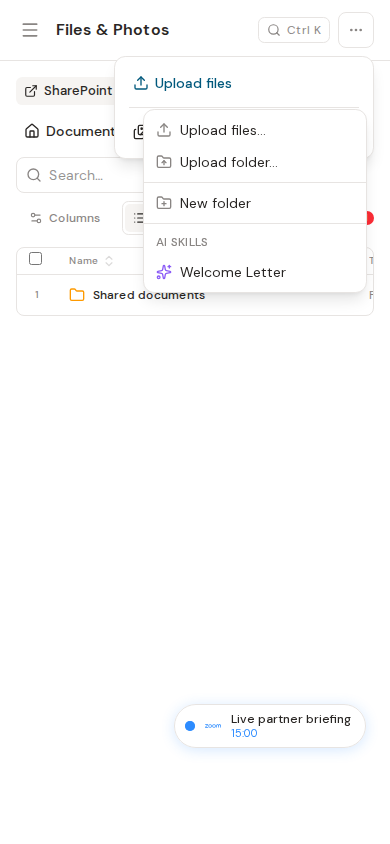
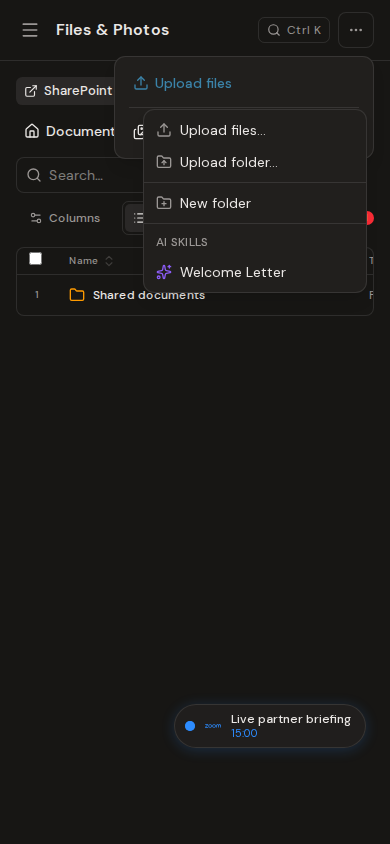
Each upload is tracked separately, including repeated uploads of a file with the same name. If one file fails, successful files remain in the library and the failed item reports its own error.
Organize uploaded files
Choose New folder from the Upload files menu to add a folder. It is saved right away, so it stays in the library, even when empty, until you rename, move, or delete it. Rename or move a folder from its ⋯ menu; the folder and everything inside it move together in one step. Inside the Photos folder, the same ⋯ menu also offers Copy link: recipients can only see that folder, not the rest of the album.
Folders that come from a connected drive (for example, SharePoint) are read-only in Formist: they show no rename, move, or delete actions, even when empty.
Uploading, creating folders, and changing file locations require space write access and configured Blob storage.
Last verified: